Dill Pickles (with a focus on sterilizing)
My aunt is a master canner with at least 50 years experience … she has shared her recipes with me! Today we’re going to talk about dill pickles, but first how to sterilize the equipment.
I am especially grateful because recently had a mastectomy and is recovering well from the surgery. My grandmother (from the other lineage of my family) and her sister, plus a dear friend of mine, are survivors as well. If you have ever considered supporting the Canadian Breast Cancer Society, you can donate online »
FYI there are two methods of canning commonly used:
- Cold pack means you put cold food in, add a preservative (i.e. syrup or vinegar solution) but this depends on your recipe, seal and then process the jar in a boiling water bath.
- Hot pack means you cook the food and then process it in a water bath OR add preservatives (i.e. sugar, vinegar, pectin) before putting it in the jar so no further action is required. The latter is my personal preference.
This is the standard process to sterilize the jars, no matter what you are canning, so this post will be referenced in the future as well. There is a dry method done in the oven, but my Mom prefers to boil them (outlined below). Don’t just put them in the dishwasher – it’s not the same:
#1 Equipment: Find out how much the recipe makes and how many jars you will need (plus a margin for extras) and give them a quick wash (to get any dust, etc). It doesn’t quite work out exactly because you always need to leave “head room” in the jars i.e. 6 cups won’t necessarily fit into six 250mL jars. There may be enough to pack 7 (or 8 if you’re lucky). There is no harm in sterilizing extras and it’s a real nuisance when you don’t!
Some notes on jar sizes:
- 1L (quart) jars are good for preserved tomatoes (i.e. diced or sauce)
- 500mL (pint) is good for pickled veggies (i.e. pickles or beets) and tomatoes
- 250mL (cup) is good for gifts of pickled veggies; also chutney or jam if you know an opened jar will get used fairly quickly in your home
- 125mL is good for gifts of jam or chutney
Some notes on spoilage: lids should not be reused. You can get a pack of 12 for $1. It ensures the seal will bond to keep out “organisms” out to prevent spoilage. The exception is decorator lids on jam, because those are sealed by wax and the lid is just to keep any dust off.
Fresh food that is no over-ripened should always be used in your recipes. When rinsing, make sure all soil is removed and drain well.
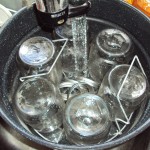
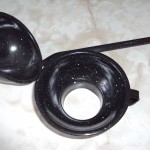
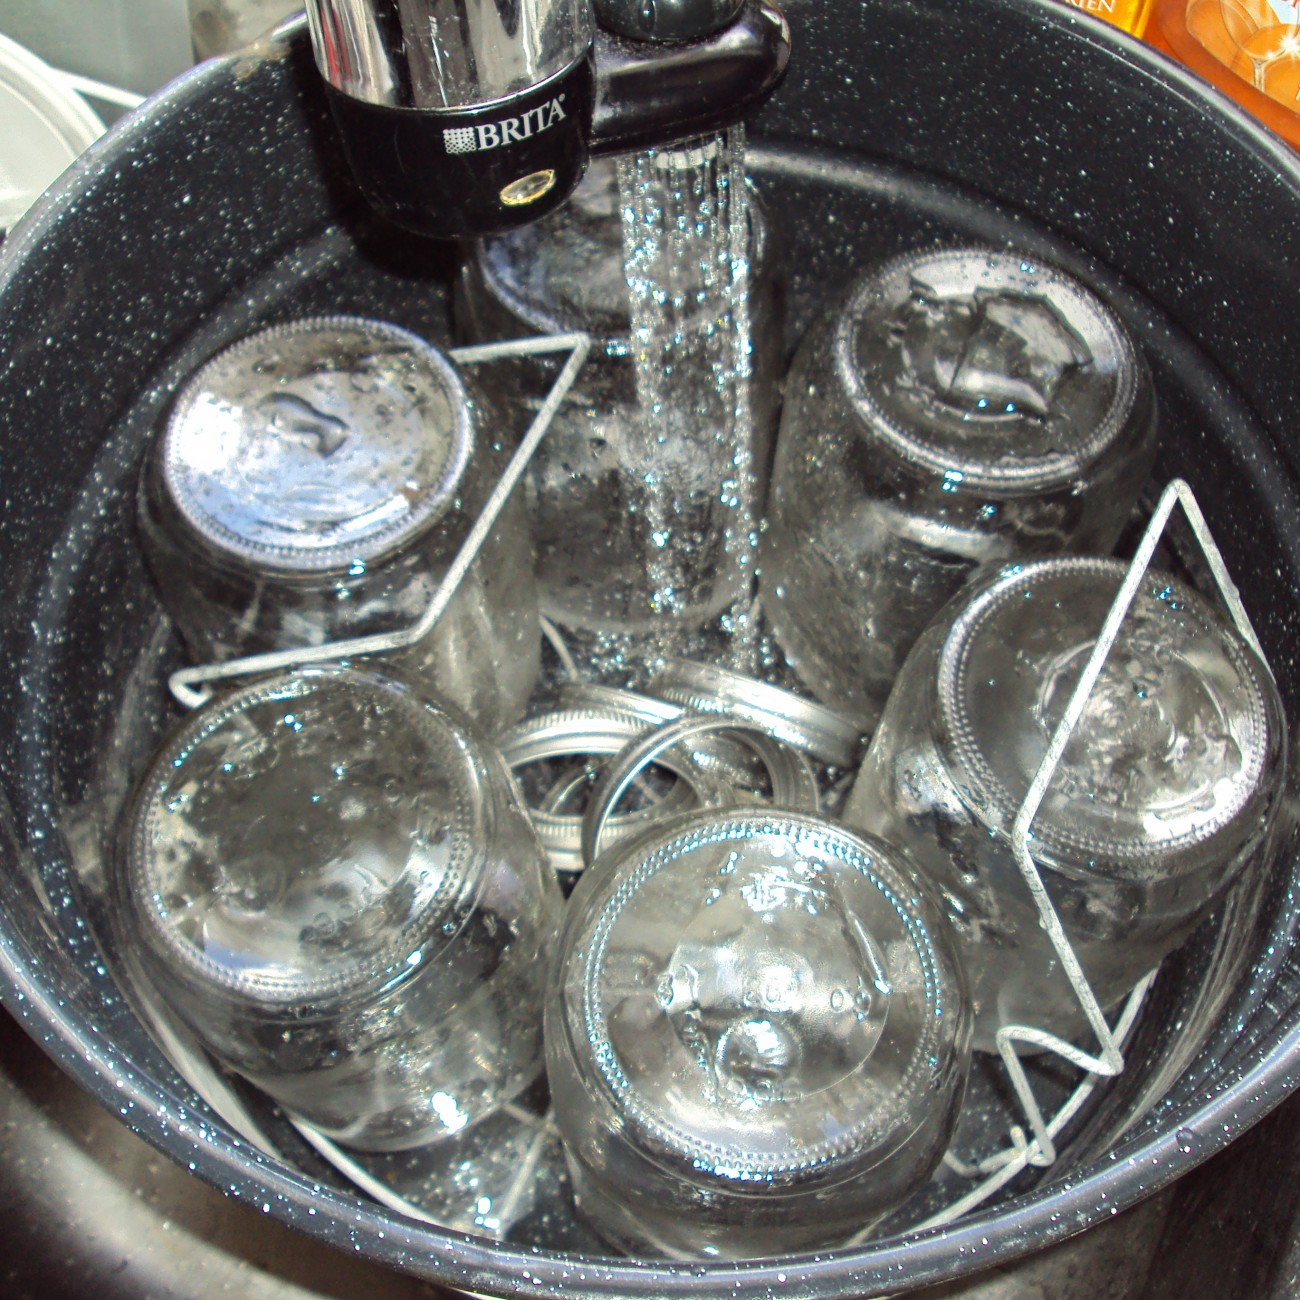
#2 Boiling method: place jars, rings and new lids, plus the ladle and funnel into a canner filled with water (I seem to forget these last two in my excitement. Don’t do that). They should be mostly covered with water and inverted – don’t worry if they tip over. Bring to a boil. Once a roiling boil is achieved, set the timer for 15 min.
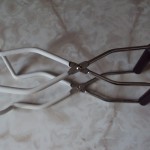
Remove the ladle and funnel and set aside on a clean towel to cool. Leave everything else in the hot water until you actually need them, then use the jar lifter (see picture) to get each jar out and lay it, empty and upright, on a clean towel. Really, that’s it. Not complicated but time consuming because you have to do everything in batches to prevent contamination.
# 3 Packing the jars: Following the recipe you have, fill each jar one at a time, taking out the lids and rings as needed. After one week, examine each jar to check for leakage – pitch these because they are likely contaminated. When you open jars in over the next year, look for spurting when the lid is removed, foaming, and/or off-odor as these are signs of spoilage.
GARLIC DILL PICKLES
Okay, on to the dill pickles: these are comparable to Bic’s and have been a family favourite my whole life. I discovered with Mom that tiny cucumbers work best. Fatter ones can be halved or quartered for better packing, but don’t mix in a jar – they should either be whole or cut.
Info for planning: 6 quart basket plus one batch of brine will make 6 jars (500mL each). This is a hot pack method. It took us a little over an hour to do this but it was my first time and Mom hadn’t done it in a long while.
Wash the cucumbers thoroughly (a Mennonite woman told my aunt to put them on the gentle cycle of the washing machine with no soap if you’re doing a large batch, but I do them by hand because that sounds odd).
Ingredients:
- basket of small cucumbers
- head of garlic
- fresh dill
- 2 quarts (1L) water
- 1 quart (2 cups) vinegar
- ¼ c white sugar
- 1 cup pickling salt (available at bulk stores)
- alum powder (a few Tbs should do)
Stir until dissolved. The liquid should be clear. DO NOT HEAT OR DOUBLE. Make only one batch at a time.
- Place garlic (# of cloves to taste) and dill on the bottom, then fill each jar with cucumbers. Top with another garlic clove, dill and a pinch of alum.
- Fill the jar with brine,leaving 1/2” head room (I do it to the base of the funnel). Place on the lid and finger tighten the ring. My aunt stands the jars upside down to check for leaks.
- Let stand at least 6 weeks for the flavour to sink in. They are so delicious, that it’s hard to have just one. Keep in mind this is a high sodium snack 🙂
Photo Credit: from my personal collection

